


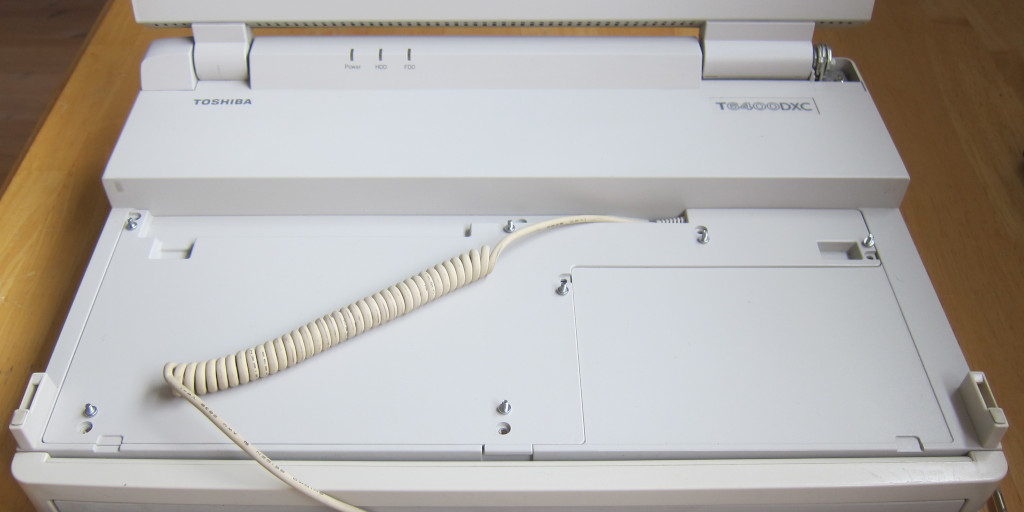
Toshiba T6400DXC Disassembly
Here is a guide on how to disassemble the Toshiba T6400DXC luggable PC to be able to take out the main board and also get access to the hard drive and floppy drive. It made sense to compile a guide due to the large amount of screws and no other available documentation online that I could find, at least during this time of writing.
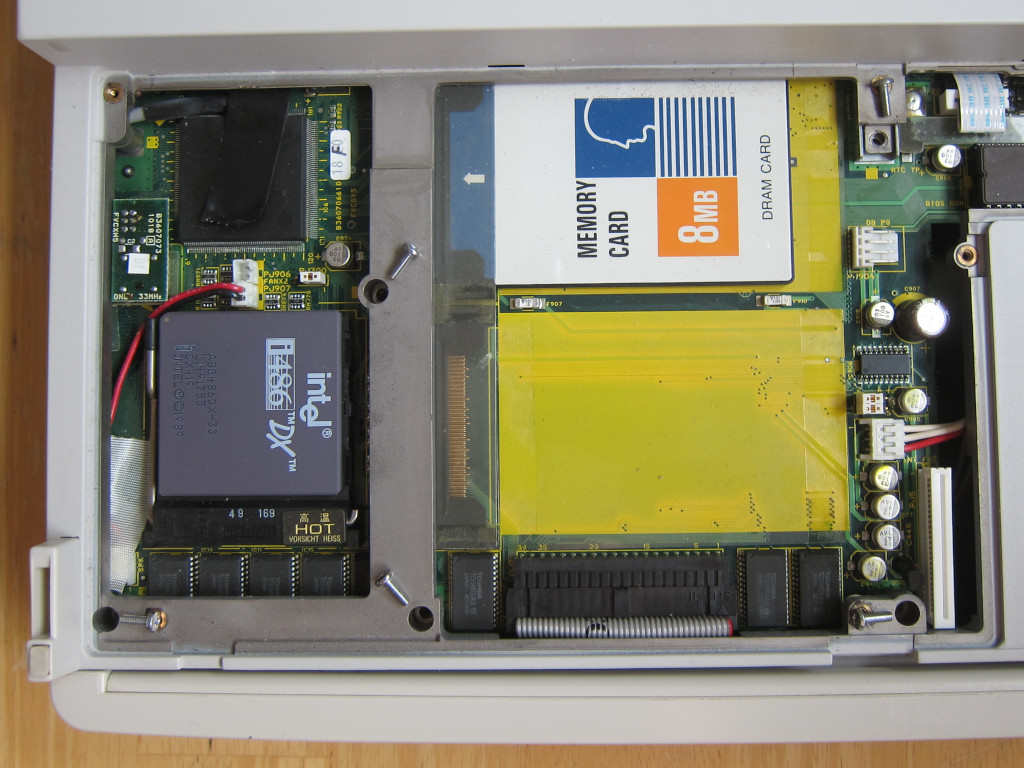
Step 1 - Remove 7 small screws for the main PCB cover.
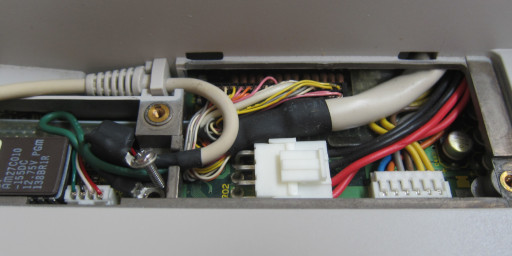
Step 2 - Remove 1 screw for cable grounding and disconnect the 4 cables. (Keyboard cable, LCD screen cable and 2 power cables.)
Step 3 - Remove 10 small screws and 4 longer screws in the deeper holes.
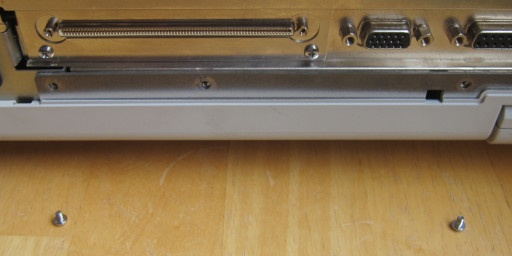
Step 4 - Remove 3 medium screws for the rear port cover.

Step 5 - Remove 2 additional small screws behind the rear port cover.
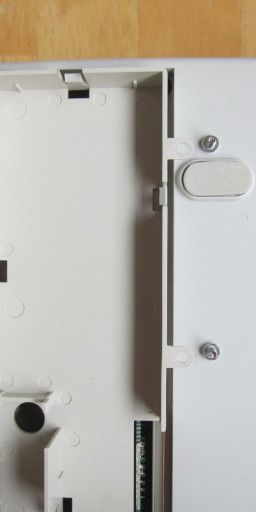
Step 6 - Remove 2 screws holding the "modem box" in place.
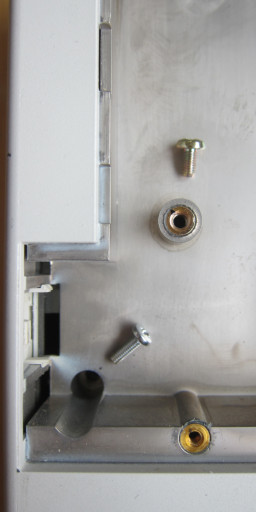
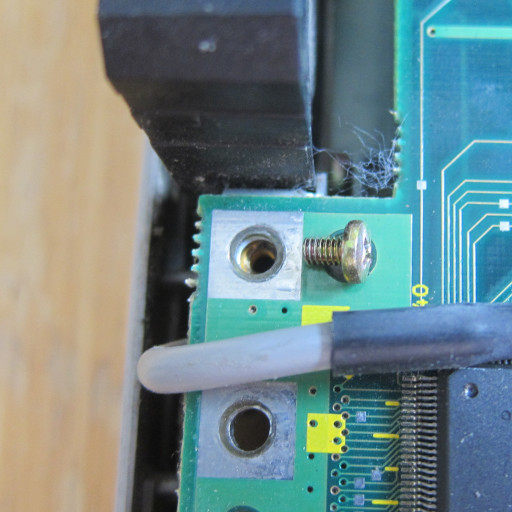
Step 7 - Remove 2 screws under the "modem box" in the front. (The golden colored one is probably not necessary.)
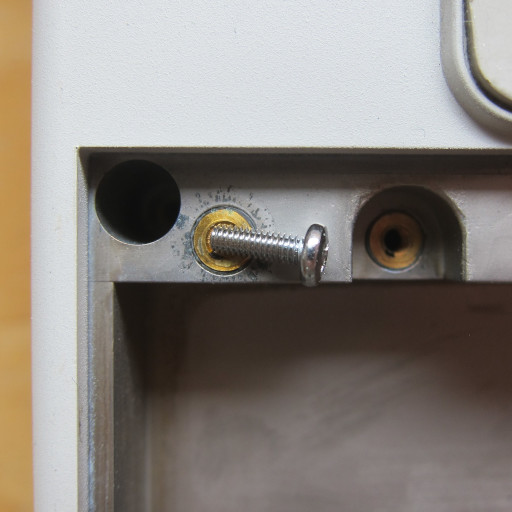
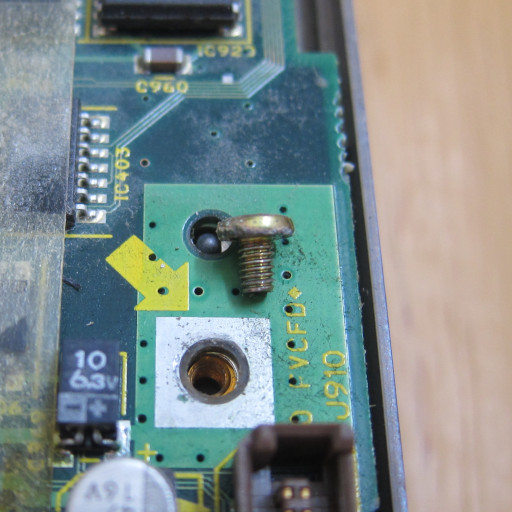
Step 8 - Remove 1 additional screw under the "modem box" closer to the rear side.
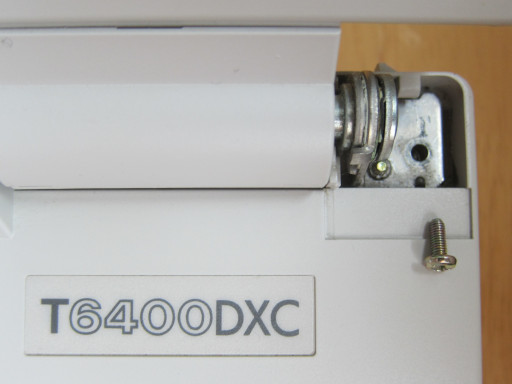
Step 9 - Remove 5 long screws holding the top half (LCD screen and PSU) in place.
Step 10 - Remove 1 golden screw close to the upper right hinge.
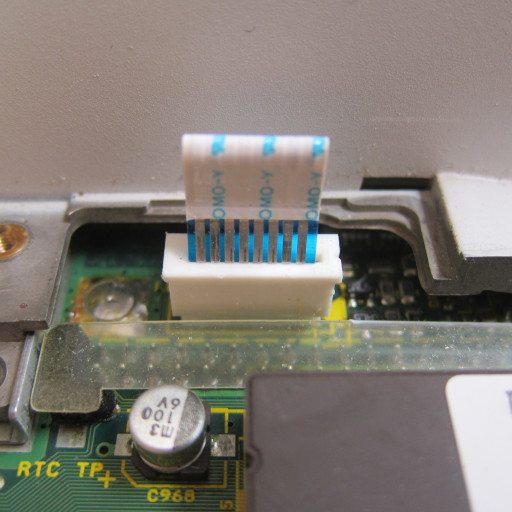
Step 11 - Disconnect LED cable, after this it should be possible to separate the top half (LCD screen and PSU) from the bottom half.
Step 12 - Remove 2 screws holding the PS/2 port board in place.
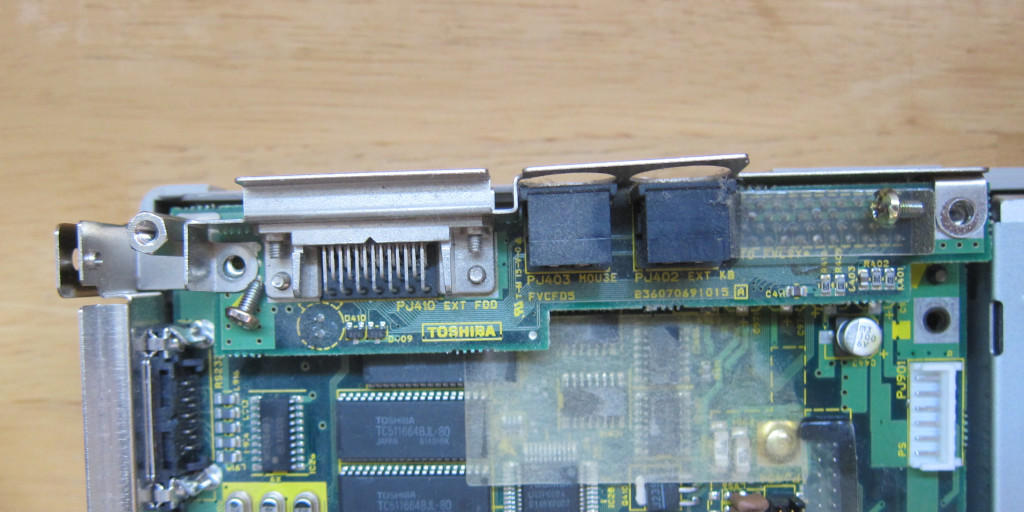
Step 13 - Remove 1 screw on the left side of the main board.
Step 14 - Remove 1 screw on the right side of the main board, under the removed PS/2 port board.
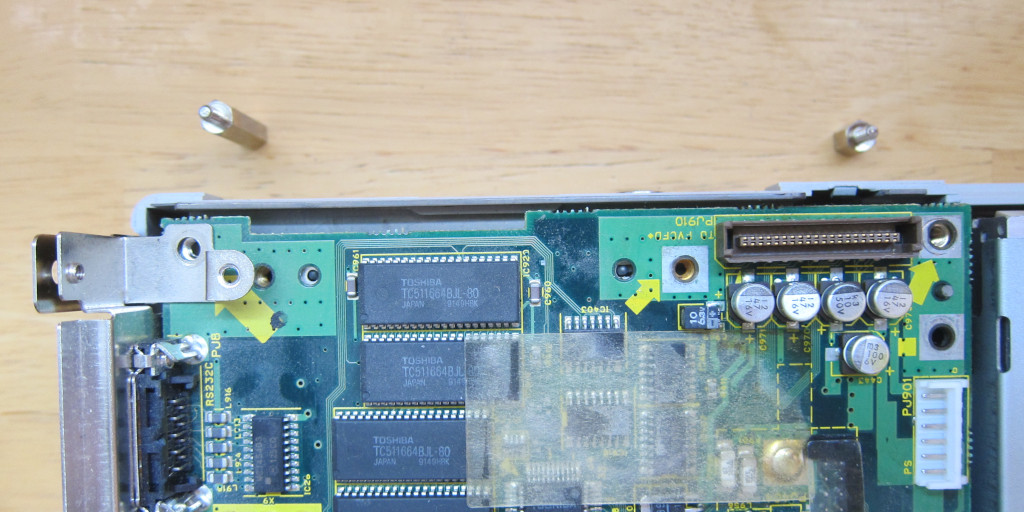
Step 15 - Remove 2 stands used to hold the PS/2 port board, as indicated by the yellow arrows.
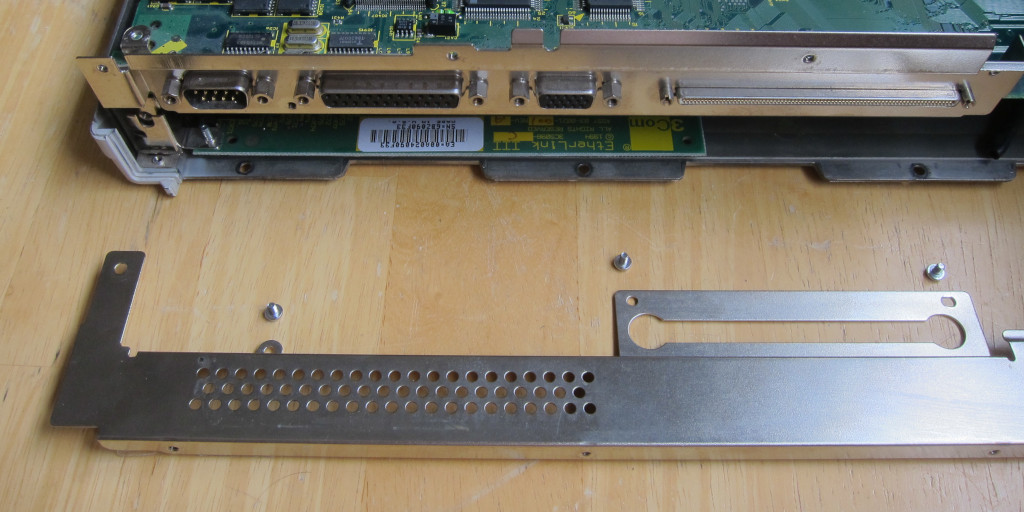
Step 16 - Remove 3 screws for the ISA slot cover.
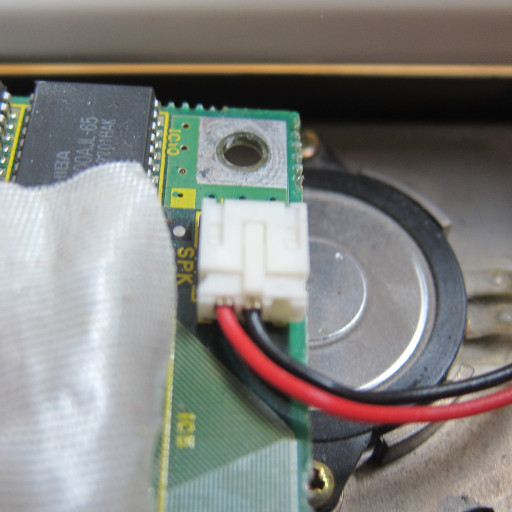
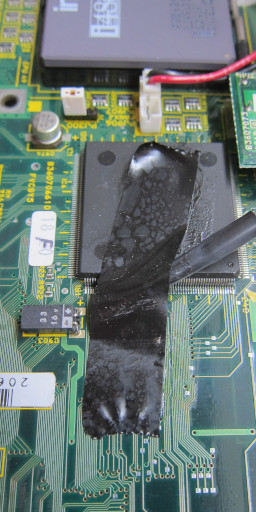
Step 17 - Disconnect the fan cable and remove the temperature sensor cable.
Step 18 - Disconnect the speaker cable, after this it should be possible to take out the main board.