


CP/M on the Raspberry Pi Pico
A new port is available of my "kaytil" Z80 CP/M 2.2 emulator, this time targeting the new Raspberry Pi Pico.
A snapshot of the "Version 0.2" source can be downloaded here, or check out the Git repository here. The GR-SAKURA version has now also been incorporated into the same tarball and Git repo, instead of residing on a branch.
In the same fashion as the GR-SAKURA version, the CP/M 2.2 and CBIOS binaries are embedded directly into the final binary. For the Pico version this is taken even a step further since the disk images are ALSO embedded into the final binary! This means the disk images are in fact hard-coded and needs to be provided/updated before building. The disk images provided with the source code are just dummies and should be replaced with something more useful.
I figured that embedding the disk images was the easiest way to get things up and running considering the constraints of the Raspberry Pi Pico platform. This works nicely since the Pico has 2MB of Flash and can easily hold four IBM 3740 floppy disk images, typically 256KB in size each. Embedding the disk images is done using objcopy and forcefully placed in the ".rodata" section which causes them to reside in the Pico Flash instead of the SRAM.
The console is available on the "standard" UART at pins 1 and 2 and running at 115200 baud. Conversion between ADM-3A codes to VT100/ANSI codes are done in the emulator in the same way as the other versions.
Building requires the ARM GCC toolchain, CMake and the Pico SDK; just follow the official guide on how to set this up. In typical CMake fashion, create a build folder and call cmake pointing to the "pico/" subdirectory containing the CMakeLists.txt file:
mkdir build
cd build
PICO_SDK_PATH=/path/to/pico-sdk cmake /path/to/kaytil/pico/
make
The resulting "kaytil.elf" file can be flashed with SWD, or the "kaytil.uf2" file can be copied through USB in the BOOTSEL mode.
Here is a photo showing it in action, using a Commodre 64 as a terminal:
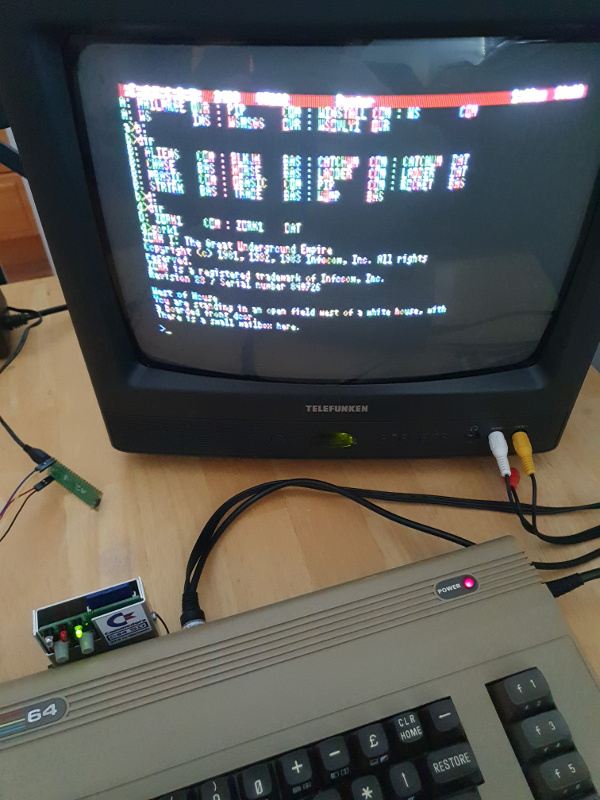
For this to work I used a level shifter between the C64 user port and the Raspberry Pi Pico to convert between +5V and +3.3V. In addition I changed the baudrate to 2400 baud by calling "uart_set_baudrate(uart0, 2400)" in "console_init()".